3D Microscopy 101: Capturing 3D Images
For years, the world of microscopy had a big dilemma. Capturing the finest details of a specimen was limited by light from out-of-focus planes. The best workable solution was to take very thin samples or physically squash or slice thicker samples. Workable, but not ideal for a wide range of use cases. It would be years before technology advanced enough to allow 3D microscopy.
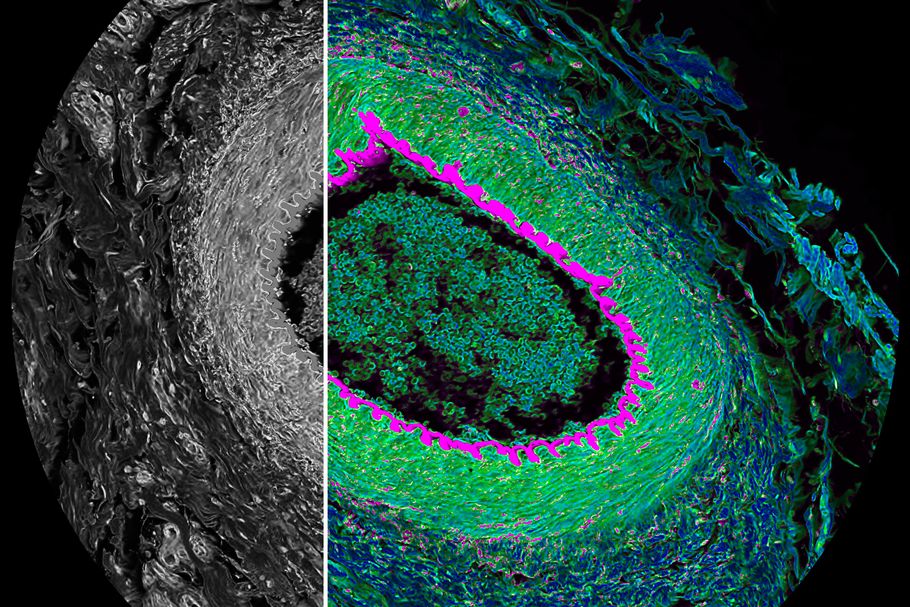
But that was then, and nowadays we have the ability to resolve very fine details in 3D microscopy within intact (and even living) specimens. So, how do we take 3D images? Let’s review some of the most common methods from University of Cambridge.
Confocal
The distinctive optical design feature of a confocal laser scanning microscope compared to a conventional microscope is the confocal aperture arranged in a plane conjugate to the intermediate image plane and the object plane of the microscope. The detector only detects light that passes through the pinhole – i.e. light that emanates from the object plane in focus. Because light from above and below the object plane is blocked, the confocal microscope can be understood as an inherently depth-discriminating – or sectioning – optical system. As a result, we have an awesome image taken with 3D microscopy!
2-Photon
Another method of 3D microscopy is done using a 2-Photon microscope. While the 2-Photon (2P) microscope is in many ways similar to a confocal microscope, the optical section formation itself is very different; in the confocal case fluorescence is generated throughout the vertical, or Z, axis and the pinhole eliminates the unwanted light from above and below the object plane. In the 2P case, fluorescence is only generated in the object plane, thereby eliminating the need for a pinhole. This critical difference means that 2- imaging is a more efficient technique – only the fluorophores in the object plane are excited, thus reducing the net photo-bleaching and photo-toxicity caused during a 3D acquisition.
Structured Illumination
Another 3D microscopy technique is structured illumination or “grid projection.” The principle of structured illumination centers around a grid of parallel lines projected into the image plane – thus, a high-resolution objective images the grid lines in the same focal plane as the sample. A CCD (Charge-Coupled Device) sensor captures this data as well as the out-of-focus data that stems from above or below the focal plane. To calculate the optical section, three images are captured, each with the grid shifted by one-third. Within this set of images, the out-of-focus data appears nearly identical, whereas the in-focus data is an addition of the subtracted images.
Deconvolution
A computational method to optical sectioning is deconvolution. Unlike the methods described above, deconvolution is purely mathematical. There are many different published deconvolution algorithms, but they segment into two groups: deblurring or restorative. Deblurring methods are 2D methods, where each XY plane is deconvolved individually, using image information only from that plane or the closest neighboring planes. Restorative deconvolution, takes into account that blur is a 3D problem, and utilizes 3D data to subtract blur or reassign it to its original point of origin.
3D Microscopy | Getting Started
3D imaging techniques have been some of the biggest advancements to the world of microscopy. They open a completely new perspective, literally, to our studies and allow for analysis that simply wasn’t possible for generations. For more information and industry knowledge, stay tuned for our next blog post or feel free to contact our sales team.